Hybrid and digital learning environments, teaching videos have evolved from supplementary classroom novelties into core pedagogical tools. These concise, purpose-built digital assets allow educators to explain complex concepts, demonstrate multi-step procedures, and deliver targeted remediation. By combining visual narration, on-screen text, and active learning cues, well-crafted video media maintains student focus while providing consistent, repeatable instruction. For ready-to-use free classroom resources, see this guide. The sections below connect teaching videos to the decisions you face this week.
When grounded in multimedia learning theory, video content reduces cognitive load and empowers students to master difficult concepts at their own pace.
Pre-Production: Designing Teaching Videos for Cognitive Impact
Effective video creation begins long before hitting the record button. Unscripted, sprawling lectures often lead to cognitive overload and student disengagement. To maximize retention, instructional designers recommend breaking complex curricula into bite-sized micro-learning modules.
Target the 3-to-6 Minute Window: Research indicates student engagement drops significantly after six minutes. Limit each clip to a single, clearly defined learning objective to preserve focus. Keep the focus on teaching videos while you work through the checklist.
Develop a Dual-Stream Script: Draft a side-by-side script specifying spoken narration alongside visual cues, such as on-screen text callouts, diagrams, or physical demonstrations.
Build Storyboard Frameworks: Outline slide transitions, camera angles, and digital whiteboard annotations prior to filming to minimize post-production editing time.
Embed Pauses for Active Recall: Plan specific moments in the script where students are instructed to pause the clip and complete a quick reflection or practice problem. Most questions about teaching videos come down to cost, time, and support.
Technical Teaching Videos Production Setup and Editing Standards
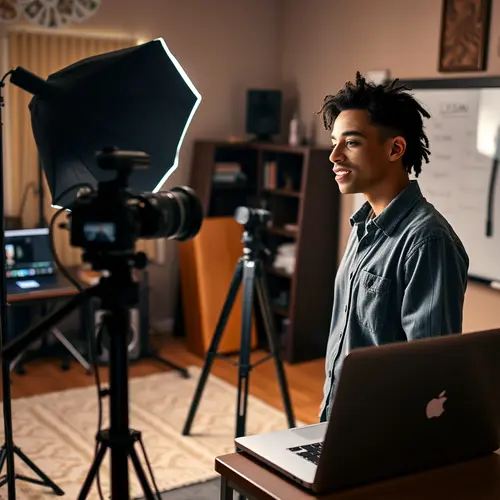
Creating professional teaching videos does not require an enterprise studio budget; it requires attention to fundamental production standards. Technical friction—such as distorted audio or blurry visuals—distracts from instructional content and harms learner comprehension.
Hardware and Capture Basics
Video Resolution: Capture video at a minimum resolution of 1080p using a high-definition webcam or dedicated digital camera.
Audio Isolation: Prioritize clear audio recording using an external USB or lavalier microphone to minimize ambient room noise and echo. This guide treats teaching videos as a series of small, testable decisions.
Lighting Configuration: Position soft, diffused lighting at a 45-degree angle relative to the instructor to eliminate harsh facial shadows.
Screencasting Tools: Utilize reliable screen-capture software when demonstrating software applications, mathematical proofs, or slide deck presentations.
Teaching Videos Post-Production and Accessibility
Once raw footage is captured, edit the file using a timeline-based editor. Incorporate closed captions to comply with ADA accessibility guidelines and support English Language Learners (ELL). Insert chapter markers to allow rapid navigation, and export the final render using the universal MP4 container with an H.264 codec to optimize file size without sacrificing visual fidelity. A short weekly review keeps teaching videos from drifting into guesswork.
Best Videos for Educators: How to Choose
The best videos for educators do more than explain a topic. They fit a specific learning objective, respect attention limits, and give students a way to check understanding. Use these criteria before you add a video to a lesson or a media library.
Criterion
What good looks like
Red flag
Learning objective
One clear objective, stated in the first 30 seconds
A broad lecture with no focus
Length
A focused segment that matches the lesson
Long unbroken recording
Accuracy
Current information with a named source
No author, date, or citation
Accessibility
Accurate captions and a transcript
Auto-captions with no review
Active learning
A prompt, pause, or quiz tied to the content
Passive playback with no task
Evaluate before you assign
Watch the video once as a student, then once as a teacher. Check whether the examples match your curriculum and whether the vocabulary fits the class. Test the video on the device students actually use, including a phone and the learning management system.
Look at the first ten seconds. If the objective is unclear, students will spend the rest of the clip guessing why they are watching. A short clip with a clear task usually beats a longer clip with more detail. The checklist below turns teaching videos into steps you can finish this week.
Build a curated library
Store only videos you would assign again. Tag each item with the grade level, subject, unit, and objective so another teacher can find it without watching the whole clip. Add a one-line note about the best pause point or discussion question.
Review the library each term. Retire broken links, outdated examples, and clips that no longer match the standard. A small, well-tagged collection is more useful than a large folder of unlabeled links.
Instructional Videos – Measuring Student Engagement and Learning Outcomes
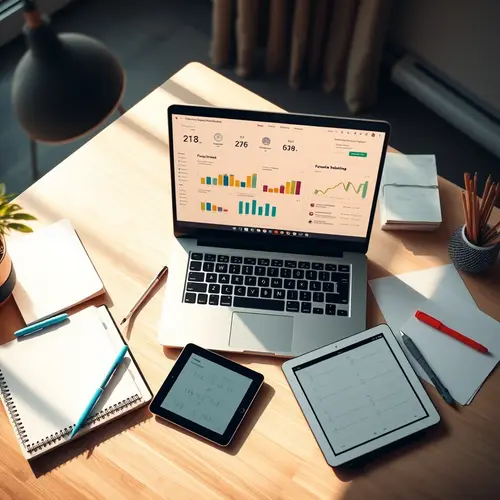
Deploying video content into your Learning Management System (LMS)—such as Canvas, Schoology, or Google Classroom—provides actionable analytics regarding student interaction. Tracking viewing behavior allows educators to continuously refine pacing and content delivery. Before committing time or money, compare teaching videos on cost, support, and evidence.
Performance Metric
Target Benchmark
Educational Source
Operational Strategic Value
Average View Duration
≥ 75% of video length
U.S. Dept. of Education, Office of Ed Tech
Measures overall engagement and flags pacing slowdowns
Completion Rate
≥ 80% of assigned cohort
EdTech Magazine Instructional Guide
Confirms accessibility and appropriate video length
Post-Video Quiz Improvement
+15% vs. traditional lecture
Journal of Educational Psychology
Validates instructional efficacy and conceptual mastery
According to findings published by the U.S. Department of Education’s Office of Educational Technology, integrating well-structured instructional clips into lesson plans can increase overall knowledge retention by up to 25 percent compared to passive listening alone.
Best Practices Lesson Videos – for LMS Deployment and Classroom Integration
To build a long-term media library, educators must organize assets for frictionless discovery and active classroom integration.
Tag Metadata Rigorously: Tag every uploaded asset with grade levels, subject areas, unit titles, and specific state curriculum standard codes. Readers often revisit teaching videos at the start of each term.
Pair with In-Video Quizzing: Utilize interactive tools like Edpuzzle or Kaltura to embed formative checks directly into the video timeline, preventing passive viewing.
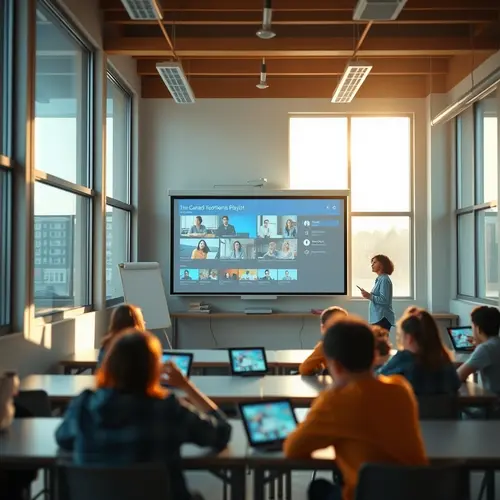
Support Asynchronous Learning: Use media archives to facilitate flipped classroom models, allowing students to digest core lectures at home and reserve in-person class time for collaborative problem-solving.
Conduct Regular Content Audits: Schedule semesterly reviews to retire outdated media, update broken hyperlinks, and realign tags with updated district learning standards. Families and students can use teaching videos to plan one term at a time.
Investing time in disciplined production and curation transforms temporary classroom recordings into a permanent library of high-impact teaching videos. By anchoring video production in proven multimedia principles, educators create scalable, accessible learning tools that drive measurable student achievement.
A plan turns interest into results. The steps below work whether you are starting this week or rebuilding an old routine, and they fit the topics covered above. Good decisions about teaching videos start with a written plan and a review date.
Name one goal. Write the outcome you want in a single sentence, then check it monthly.
Set a weekly slot. Protect the same hour each week so the work survives busy periods.
Use one tool. Keep notes, deadlines, and links in one place instead of five.
Ask for feedback early. Share a draft, a plan, or a first attempt before you polish it.
Review the data. Compare what you planned with what actually happened, then adjust.
Repeat for one term. Consistency beats intensity when the schedule gets crowded.
Common Mistakes That Undo Progress
The first mistake is doing too much at once. A broad plan feels productive, but it spreads attention across too many tasks. Pick one change, run it for four weeks, and only then add the next.
The second mistake is skipping the boring part: schedules, documents, and follow-up. Most setbacks trace back to a missed deadline or an unread instruction, not a lack of talent. Build a simple checklist and use it every time.
The third mistake is judging too early. Early results are noisy. Set a review date, collect two or three signals, and decide with evidence instead of a single bad week.
How to Measure Progress
Choose two metrics you can collect without extra work: completion, attendance, applications submitted, or time saved. Record them weekly in the same place, because memory rewrites progress.
Leading signal: the action you control, such as sessions completed.
Lagging signal: the result you want, such as a grade, offer, or acceptance.
Review window: four weeks for habits, twelve weeks for outcomes.
Adjustment rule: change one variable at a time so you can tell what worked.
Start with the fundamentals covered in Best Videos for Educators: How to Choose. Build one repeatable routine, keep the scope small, and review results weekly. Beginners who master the basics first avoid costly detours, and they usually see steadier progress within the first month.
How do you choose the right option?
Compare cost, time commitment, support, and evidence of results. Ask for examples from people who finished, and test the choice on a small scale when you can. The right fit matches your schedule and budget instead of the loudest marketing claim.
How long does it take to see results?
Most people notice small improvements within two to four weeks, and clearer results after about three months of consistent effort. The themes in Instructional Videos – Measuring Student Engagement and Learning Outcomes matter here: track one or two measures, adjust monthly, and give the process time before judging it.
A Post-Production Quality Checklist
Before publishing, check that captions match the spoken words, audio peaks stay below clipping, and the first ten seconds state the learning objective. Trim pauses longer than two seconds, add chapter markers, and confirm the video plays on a phone without zooming. Test the upload inside the learning management system rather than only on a desktop browser.
Finally, provide a transcript and a short written summary for students who cannot stream video. Accessibility improvements reduce support requests and make the lesson easier to review before an assessment.
Keep the original project files and a short production log so the lesson can be updated next term without rebuilding it from scratch. Name files consistently, store them in one shared folder, and note which microphone, camera, and software versions were used. When a student reports a problem, the log often reveals whether the cause was the recording, the upload, or the learning platform itself.
Anyone weighing teaching videos should compare at least two realistic options before deciding. In practice, teaching videos works best when the basics are handled before anything else. A quick note on teaching videos: the follow-up matters as much as the first decision. If teaching videos feels overwhelming, start with the smallest step that produces a visible result.
Ashley Davis covers education and lifelong learning since 2020, testing 60+ courses and learning methods on outcomes, cost, and flexibility to help students and curious minds choose with confidence.